-
Getting Started
-
Environment Management
-
Proxy
-
Group Management
-
Automation
-
FAQs
Step 4: Profile Grouping
Profile Grouping
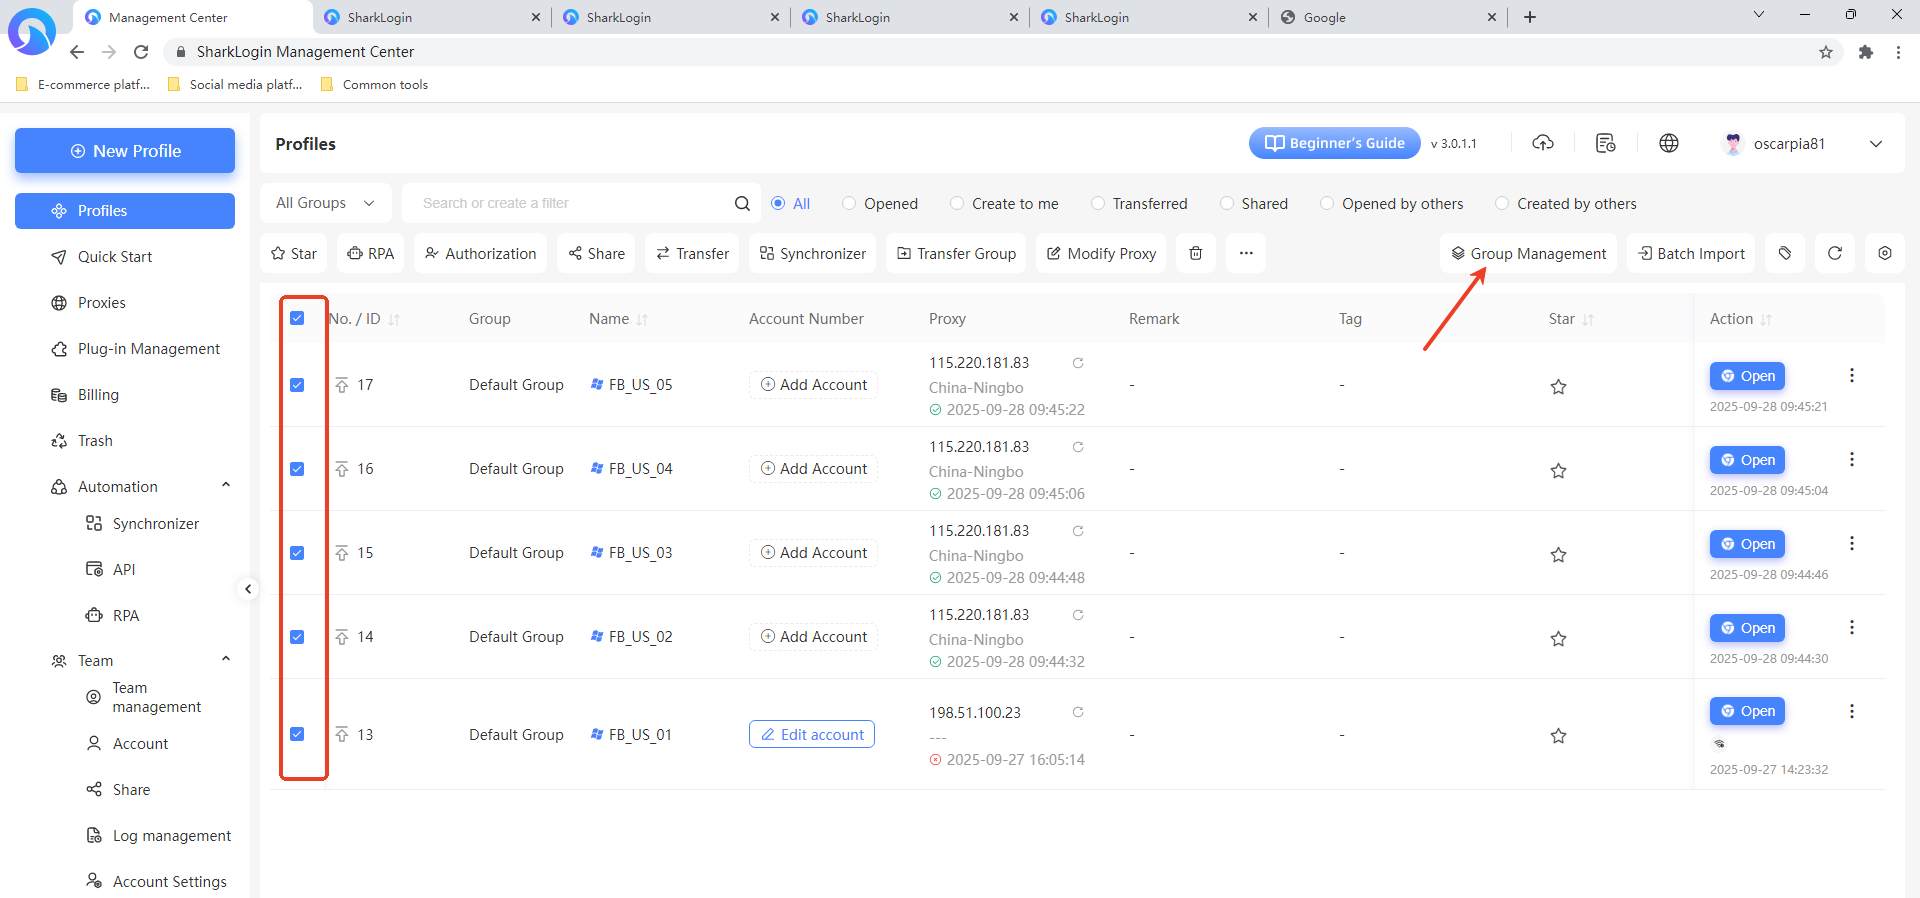
Enter Group Management: On the “Profile Management” page, click the “Group Management” button in the top-right corner.
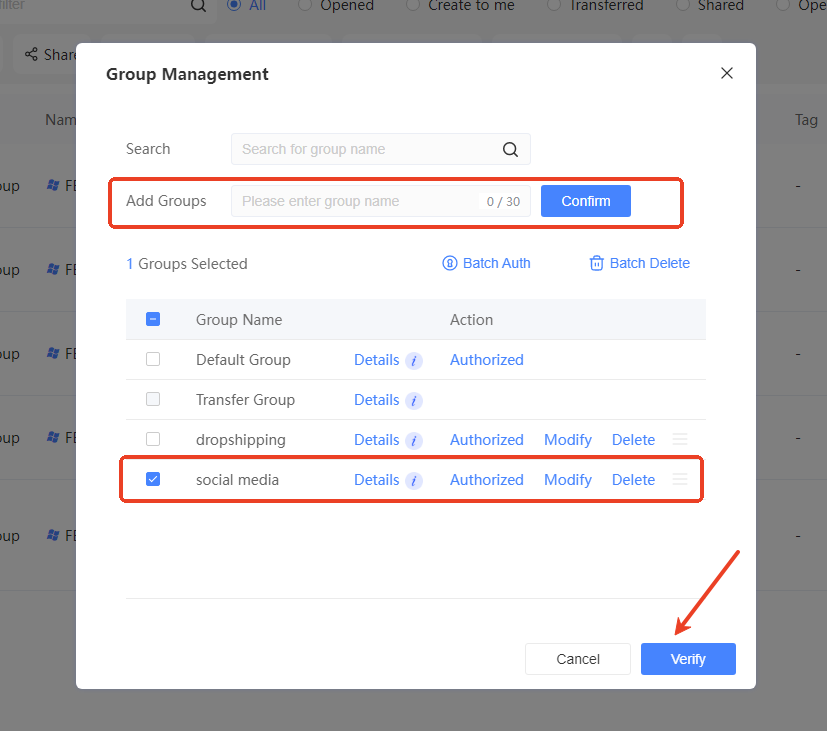
Add Group: In the “Group Management” window that pops up, enter a new group name in the “Add Group” field (e.g., “sharklogin”), then click the “Confirm” button to create the new group.
Manage Groups: Newly created groups will appear in the group list. You can authorize, edit, delete, or view details for each group.
Profile Transfer
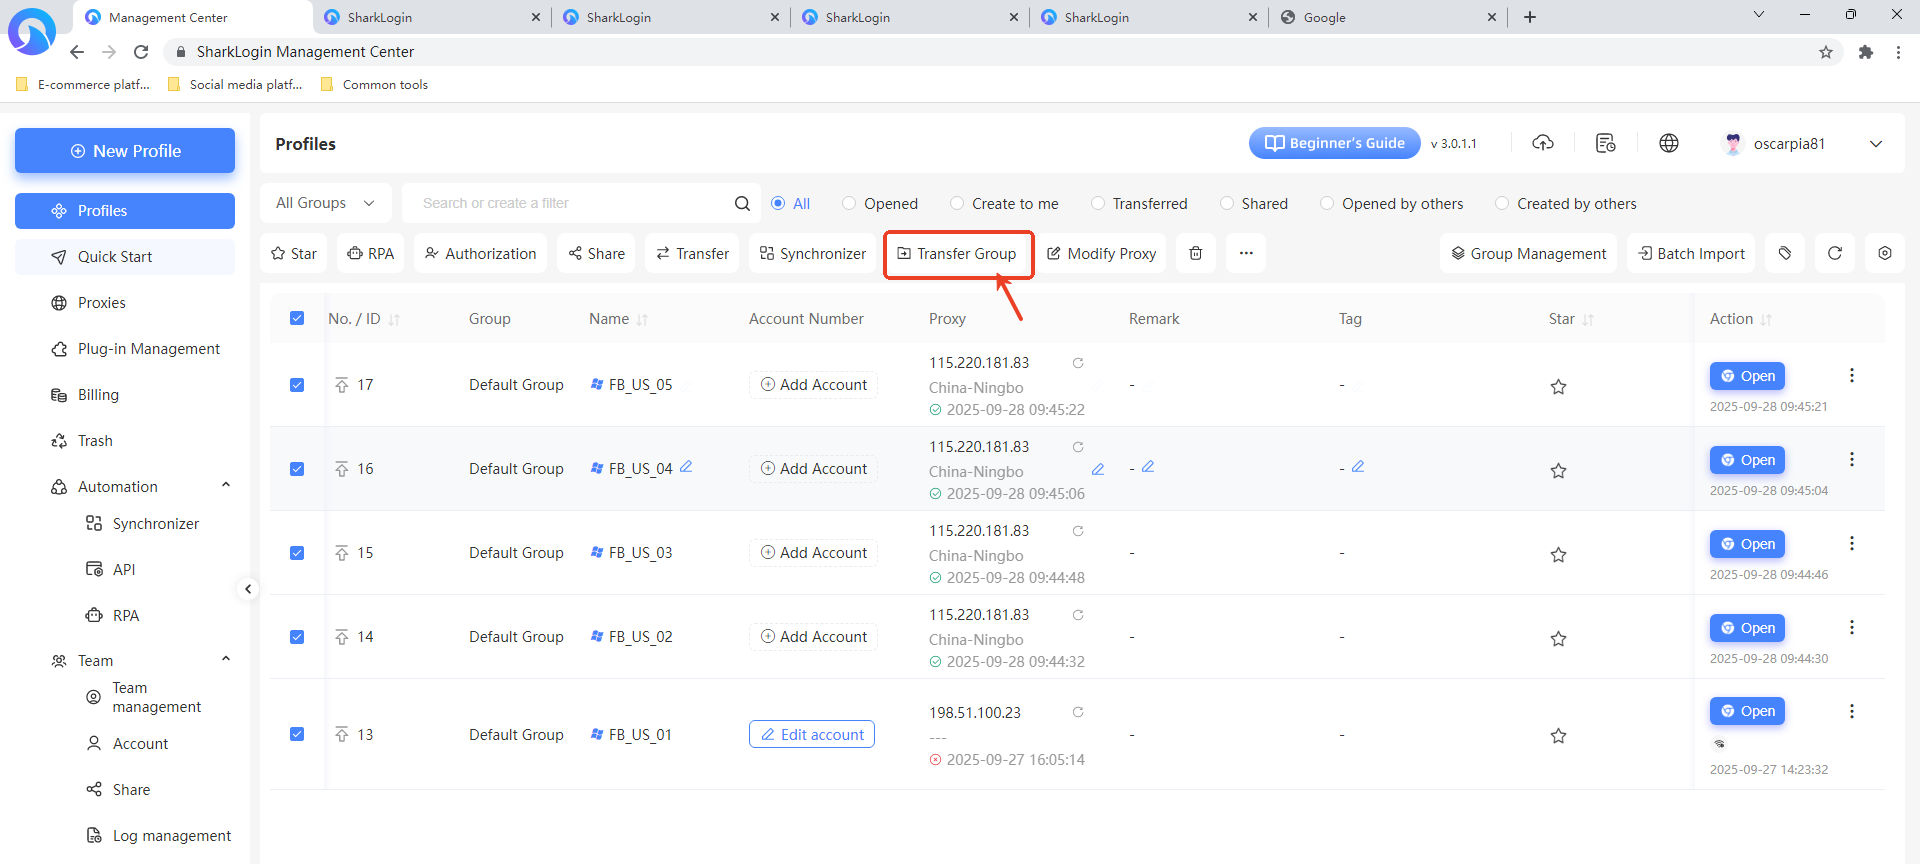
Select Profiles: On the “Profile Management” page, check the boxes next to the profiles you want to transfer (multiple selections are supported).
Click Transfer Group: Click the “Transfer Group” button at the top of the page.
Select Target Group: In the “Transfer Group” window, click the dropdown under “Transfer all profiles to group” and choose the target group (e.g., the “sharklogin” group created earlier).
Confirm Transfer: After selecting the target group, click the “Confirm” button to move the selected profiles to the specified group.