-
Getting Started
-
Environment Management
-
Proxy
-
Group Management
-
Automation
-
FAQs
Step 3: Profile Proxy Management
Sep 28, 2025
414
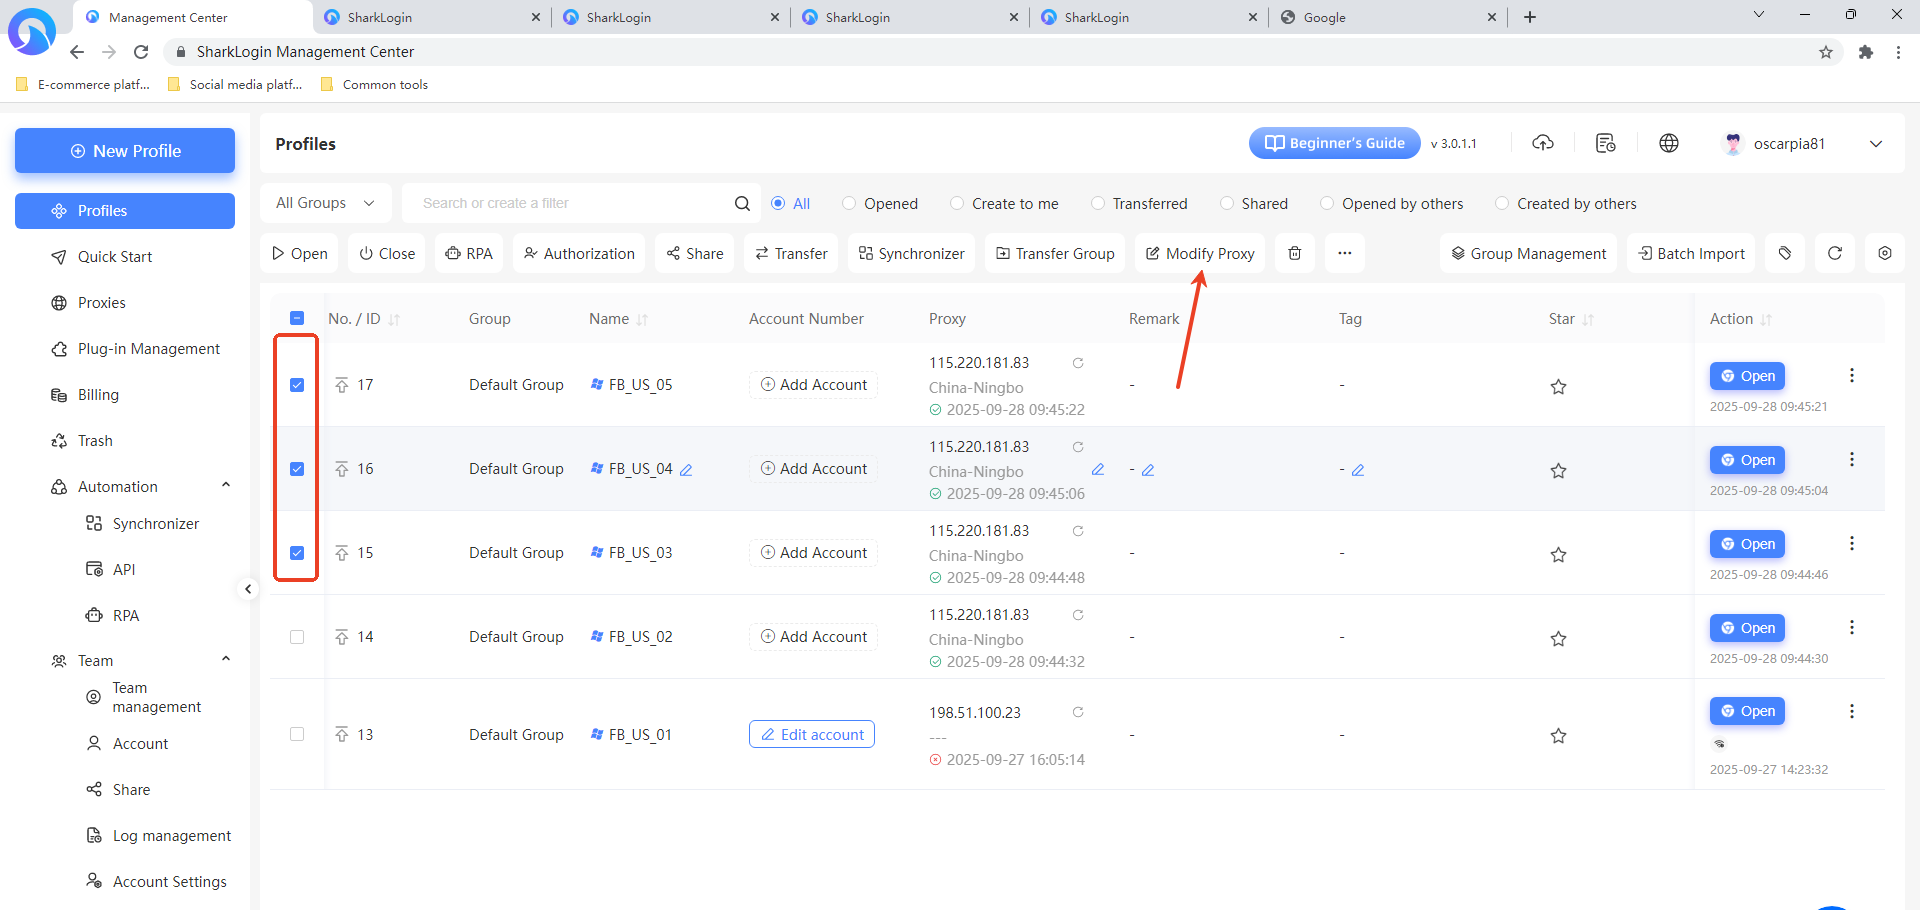
In profile proxy modification, both bulk and single-profile modification methods are supported to meet proxy configuration needs for different scenarios.
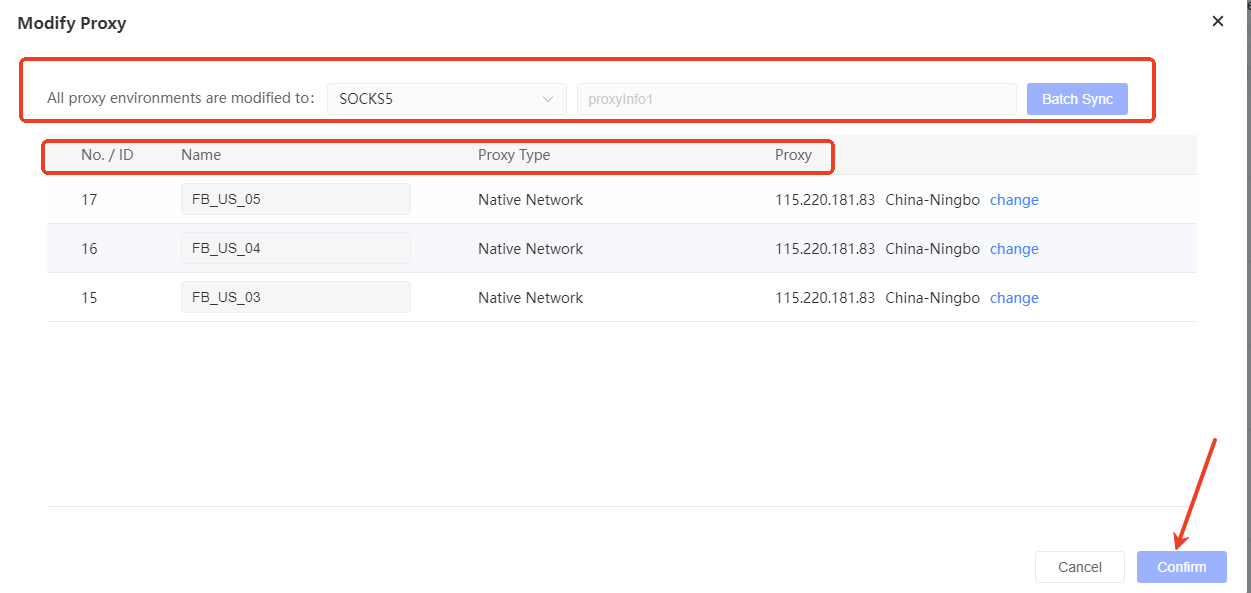
- Bulk Proxy Modification: Select multiple profiles that need proxy changes by checking their boxes, then click the “Modify Proxy” button to open the “Modify Proxy” window. In this window, you can uniformly update the proxy for all selected profiles to a specific type (e.g., SOCKS5) and enter the corresponding proxy details. Click “Bulk Sync” followed by “Confirm” to complete the bulk proxy modification for multiple profiles, efficiently unifying proxy settings.
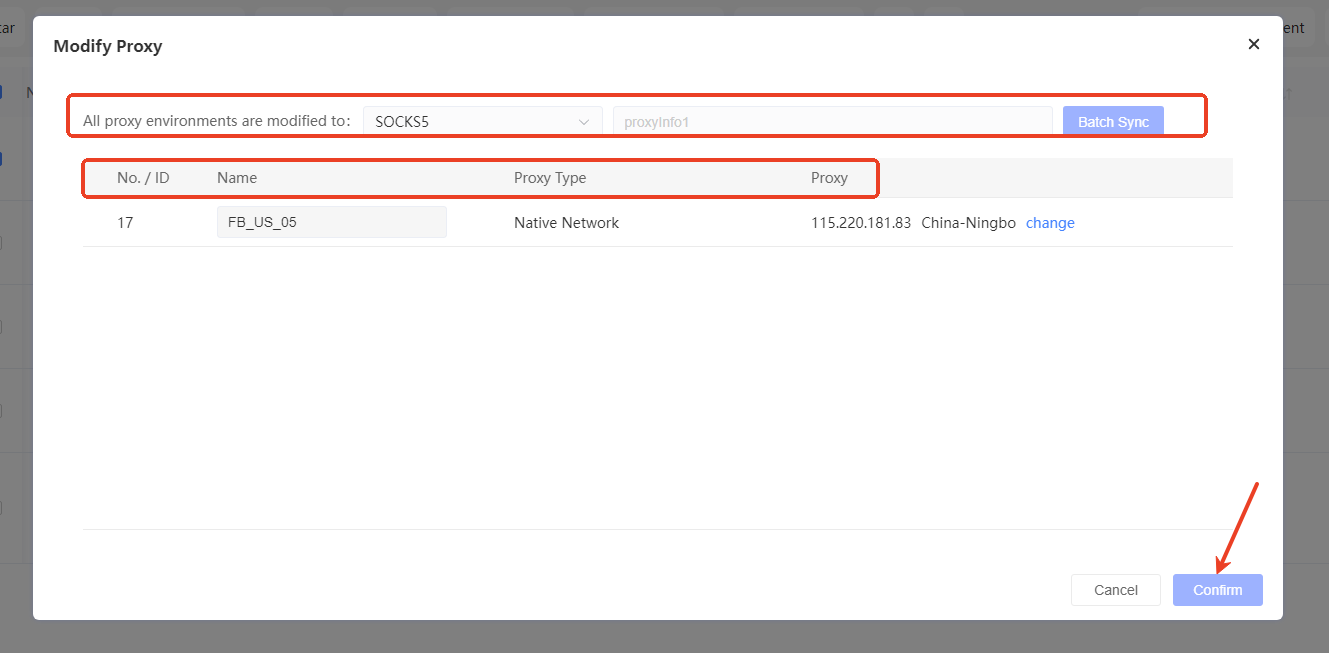
Single Profile Proxy Modification: Locate the specific profile that needs a proxy change, click the “More Options” button in its “Actions” column, and select “Modify Proxy.” In the “Select Proxy” window that pops up, choose the proxy type (e.g., local network, own proxy, or proxy API). If no suitable proxy is available in the list, click the “Go Add” button to add a new proxy. After configuring, click “Confirm” to complete the proxy modification for the single profile, enabling precise proxy configuration.
Was the content helpful?
Yes
No